Microsoft Access is a virtual relational database engine. As the name suggests, it is owned by Microsoft. It is a very highlighting part of Microsoft Office suite that is also inclusive of Microsoft Word, Microsoft Excel, Microsoft Outlook including many more software applications.
For the storage of data, Microsoft Access utilizes the Jet Database Engine. May it is a small database or a large database deployment, Microsoft is used for either of the cases. This is because it’s graphical interface is pretty easy to use.
Also, it has simple interoperability with other applications and platforms like the SQL Server database engine as well as Visual Basic for Applications (VBA).
Microsoft Sharepoint is a collaboration and document administration platform based on the browser. It is owned by Microsoft. Many companies use this platform for creating websites, mostly for business websites.
Sharepoint is also a very reliable place to accumulate, organize, share, and retrieve data from any device. The only thing you need to have is a web browser like Internet Explorer, Microsoft Edge, Mozilla Firefox, Google Chrome, or Opera Browser.
There are many tools and products that come under Sharepoint like Sharepoint Online, Sharepoint Server, Sharepoint Designer 2013, Sharepoint Foundation, and OneDrive for Business sync.
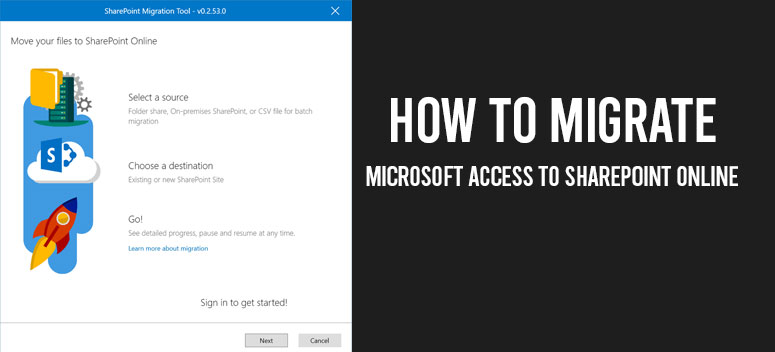
Taking Microsoft access to SharePoint Online
Well, now that you have a basic idea, we can proceed with the main course that tells you how to migrate Microsoft Access to Microsoft Office Sharepoint online. Learn more about Microsoft Access Cloud Database and SharePoint Online Migration.
Microsoft Access comes up with an amazing stage to build up nifty databases. Then, you can use these databases on SharePoint.
The database that you desire to bring into being is given shape on Access services. The ones with SharePoint accounts are capable of using the database through a website browser.
How does it Actually Work?
After you publish a web database, Microsoft Access designs a SharePoint platform or website that will be containing the mentioned database. Each and every stuff that this database is inclusive of shifts into SharePoint lists.
The visitors can get only particularly three kinds of permissions. The three permissions to the visitors include the following.
- Full control: The permission to gain total control is usually granted to the admins who can make changes but not alter the plan.
- Contribute: This permission is granted to the collaborators who will be able to make some alterations but not a complete change to the plan.
- Read: This is the basic allowance of the visitors just for having a look at all the data and information and to read the content.
Creating a Microsoft Access Database for Microsoft SharePoint
It is very common to start this procedure with a template. The model or the type of model you want to put on use is subjected to your application.
The template databases can be used. It is because they can be modified and reshaped on the basis of your needs in particular.
How will you create a Brand New Database? – Here’s How
This method includes a set of simple steps. Let us get into it.
The first step is to click on the New which you will get to see on the File menu. Doing this, you will be able to move to a view that is not to be disclosed.
Here, you will be able to get in hand the command options such as Publish to SharePoint. Also, this is the only place where you will be able to structure a fresh database.
The next thing is you require to follow this set of steps to start with the main objective in a straightforward manner.
- The first step is to go to the Available Templates option. You will get this option on the top left corner of the window.
- The second step is to create a File Name and Path.
- You have the open choice to click on the option next to the File Name box and look for a location for the database you are creating. You can do this only if you yearn for changing the oath.
- The last and the final step is to click on the Create button.
Done! Your database is now in a fit and usable state.
Here are the Steps to Publish and Sync your Database
After the completion of making each and every change that you needed to have on your database, comes the set steps to publish and for synchronizing your database. It is pretty easy and straightforward.
To publish your database go as per the following steps.
- From the File tab, you have to click on the button named Save & Publish.
- Then comes the second step. Here, you need to click on the button called Publish to Access Services.
- The third step is to click on the button named Run Compatibility Checker.
- The next step is to fill up the address of the SharePoint site where you would desire to publish your Microsoft Access database. You will get this space to fill in the address under the option to Publish to Access Services.
- Now, it is time to proceed with the fifth step. In the fifth step, you have to type in a name that you want to allot to your web database in the Site Name. You will be able to see this name appear in the server URL of your application.
- Here is the last and the final step to publish your database. You just need to click on Publish to Access Services.
After you are done with these steps for publishing your database and made all the design alterations that you required to perform on the course, you will need to synchronize your database.
You will be doing this synchronization with the file on your device to the Microsoft Office SharePoint online.
Steps to Synchronizing your Database
Now, you need to go through the following set of steps to complete the synchronization of the database. Here are the steps.
- Open the required database that you want to synchronize.
- Next thing is to make the required changes and modifications in the database.
- Now, you have to go to the File tab and click on it.
- The last and the final step is to click on the Sync All button.
This process does consist of a lot of steps. But, if you look carefully, this process is pretty easy and comfortable.
Ending Remark
So, there you go. This was our set of guidelines on how to migrate Microsoft access to Microsoft Office SharePoint online. Learn more about benefits of Cloud SharePoint Migration and SharePoint On Premise to SharePoint Online Migration.
You are given a comment section to put your views on this piece. Did you follow our guide for drifting Microsoft Access to Microsoft SharePoint online? Was this useful? Let us know.